ARRI Look Library Gallery Go to product page
ARRI look library to complement your Film Lab workflow.
ARRI Film Lab Gallery Go to product page
ARRI Film Lab is a professional-grade plugin that faithfully recreates the timeless aesthetics of analog film.
ARRI Film LabTechnical Demos
ARRI Film Lab – Overview Reel
See the impact of different Film Lab settings on ungraded footage taken straight from a camera using REVEAL Color Science.

ARRI Film Lab: Faces Shots
Portrait showreel showing the effect of Film Lab on different skin tones, followed by more comparisons with ungraded footage.

ARRI Tech Talk: ARRI Film Lab
Join Senior Colorist Florian “Utsi” Martin for an in-depth exploration of the new ARRI Film Lab OpenFX plugin. This Tech Talk dives into the creative and technical aspects of the plugin, explaining how different settings influence color grading, film aesthetics, and overall image quality.
ARRI Film Lab: Nature Shots
The majesty of nature, enhanced by various Film Lab settings. Made in collaboration with wildlife cameraman Rolf Steinmann.
Color Genius App Gallery Go to product page
Color Genius AppTechnical Demos
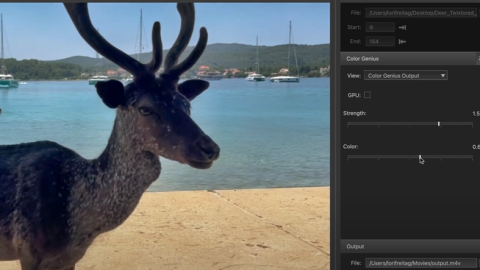
Color Genius Intro
Introducing Color Genius Stand-Alone. Automatic Color Correction with AI.
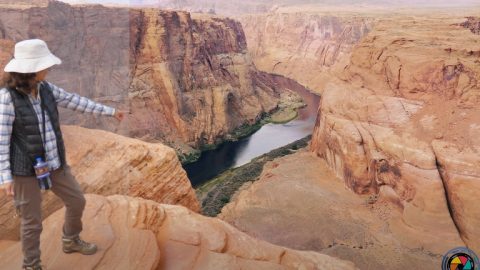
Visit Northern Arizona
4K example – before after (lake Powell, Az)
Color Genius in Action
Short reel of Before and Afters using Color Genius
Twixtor App Gallery Go to product page
Twixtor standalone is now shipping. Your license of Twixtor 8 Pro and Effections Plus will also unlock this product.
Twixtor AppTechnical Demos
Twixtor Standalone Promo
Quick visual intro to Twixtor Standalone.
Twixtor in Corsica
Album of different Twixtor Standalone in use examples.
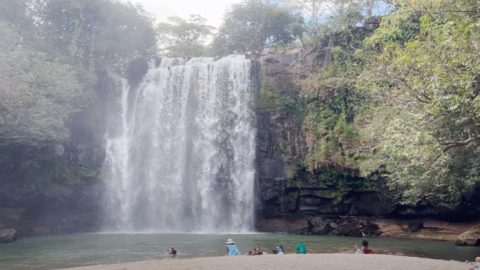
Waterfall 10X
Twixtor 10X
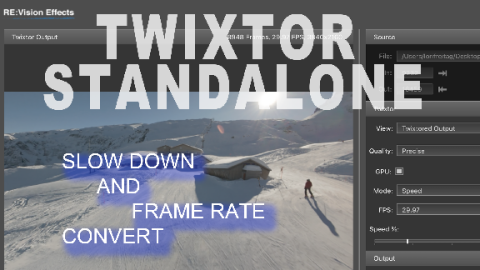
Ski Resort
Ski Resort
Slow-Mo 30% + Frame Rate Conversion
Camera: DJI Drone
Media provided by: www.highendvideo.ch
24P to 60P
Source Material: https://theasc.com/society/stem2
StEM2 — Copyright 2022 — American Society of Cinematographers — All rights reserved.
ASWF Digital Assets License v1.1
Twixtor 8 Playlist
Playlist of video that were greatly improved with Twixtor 8 Machine-Learning model. We suggest as this collection has different frame rates and resolutions that you select Watch on Youtube, set the viewer settings to maximum resolution and watch fullscreen.
Color Genius Gallery Go to product page
Color Genius™ brings AI enhancement to color correction.
Color GeniusTechnical Demos
Color Genius Overview
Intro tutorial – Color Genius works the same in all supported applications.

Color Genius in Action
Short reel of Before and Afters using Color Genius

Color Genius in Arizona
4K example – before after
Lake Powell, AZ
DEFlicker Gallery Go to product page
DEFlicker is your solution for problematic high frame rate and timelapse footage!
DEFlickerTechnical Demos
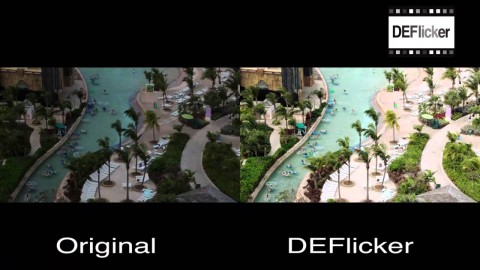
Water Park Timelapse
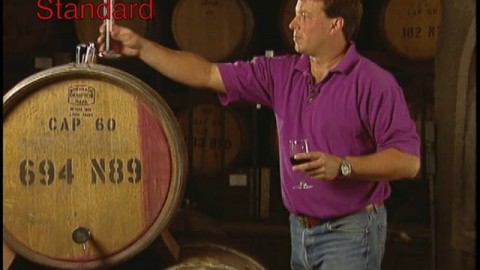
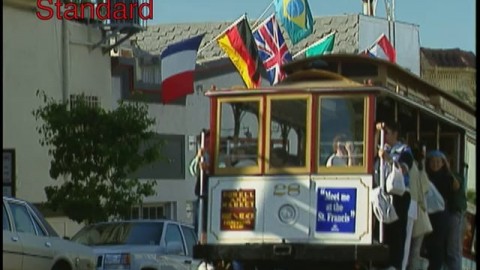
In this example DEFlicker smoothes out the overall level changes using a selected reference frame so that it’s easier to watch. At the same time DEFlicker reduces the excessive and distracting frame-to-frame motion noise.
Original material provided by VideoBlocks.com
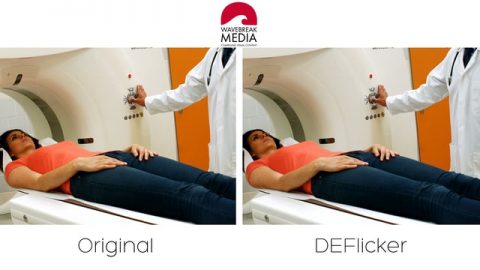
High frame rate flicker reduction
Here is an example of flicker induced by recording with high frame rate cameraq under electric lights, and the flicker removed DEFLicker. Footage courtesy of Wavebreak Media.
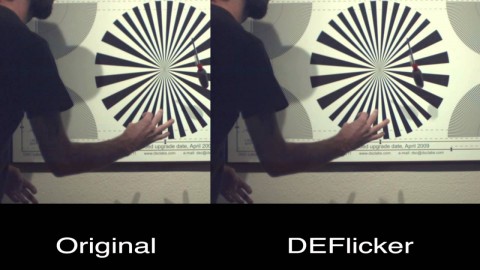
Phantom camera example
There are two examples here. It might take you a second or two to see it well, but notice how the light pulses in the original. In the second example, (wider view) it’s very obvious what happens on the top left part of the test pattern chart. This is not a camera issue, but is another example of how a high-speed camera can actually “see” flicker in an electric light that is too fast for our naked eye to see.
Footage provided by Tom Heigi – DIT Phantom Tech
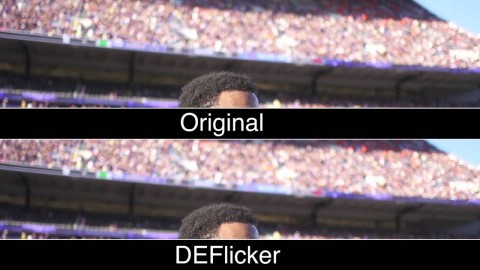
Stadium light flicker
This footage was shot at 240 FPS. Stadium lighting and electric signage can be problematic for high-speed video, even for the highest quality cameras on the market. The problem is not the camera but the way lights and electric signs vary in intensity that high-speed cameras can actually see. Note that because only part of the image flickers, that a whole-frame color correction at each frame would not fix the problem.
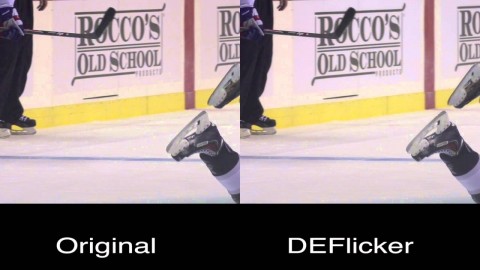
Flicker in an Indoor Arena
Notice in the original 240 FPS footage how the environment reflects the arena lighting when using a high video capture rate. Also note that some portions of the image are flickering while other areas are flickering at different amounts (or seemingly not at all), so an all-frame color adjustment, even frame-by-frame, would not fix this sequence.
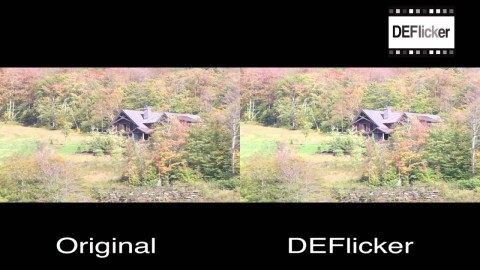
Vermont Timelapse on a Partially Cloudy Day
A partially clouded day can detract from a timelapse sequence. DEFlicker was used to color stabilize to lighter frames of the sequence. Alternatively one could choose the darkest frames to match, or simply reduce the difference between the brightest and darkest frames.
Original Material provided by VideoBlocks.com
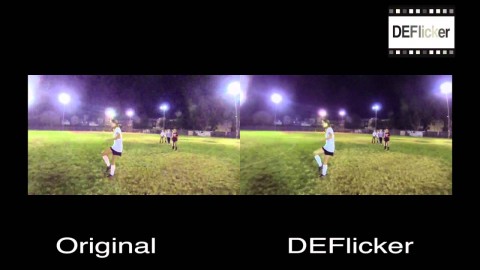
Soccer Park at Night
DEFlicker reduces the artifacts of this shot captured at 240 fps under electric lights. Note how the flicker, noise and apparent breathing of the shapes of the lights are handled.
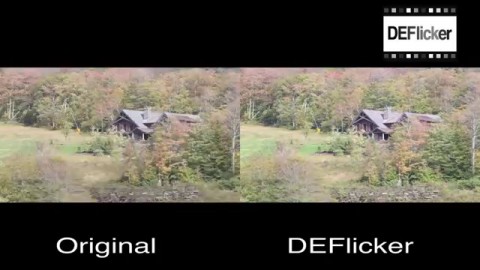
DEFlicker Overview Reel
DEFlicker by RE:Vision Effects is designed to smooth out annoying flicker and artifacts when shooting high speed or timelapse video.
See what DEFlicker can do for you!

DEFlicker Timeslice
“We used the high-speed deflicker plugin to reduce flicker of over 35 takes of a 60 Nikon D800 Array capturing 7.3k frames, in a short very period of time. This task would normally have been a grueling challenge with our conventional methods.”
Joseph Steel, Timeslice Films
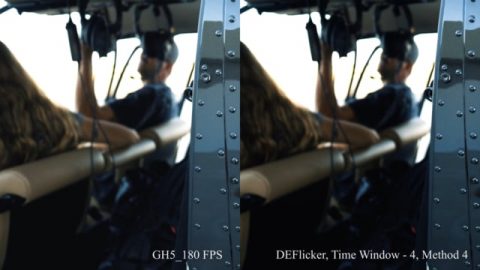
DEFlicker GH5 180 FPS
camera: GH5, 180 FPS
video: Chris Farro
Instagram | @chrisfarro
YouTube | youtube.com/ChristopherFarro
Learn how to use DEFlicker
Instructional videos, and example videos, that help you learn how to get the most of each plug-in's robust features.
DE:Noise Gallery Go to product page
Reduces noise using novel feature-sensitive spatial filtering along with time-based optical flow methods!
DE:NoiseTechnical Demos
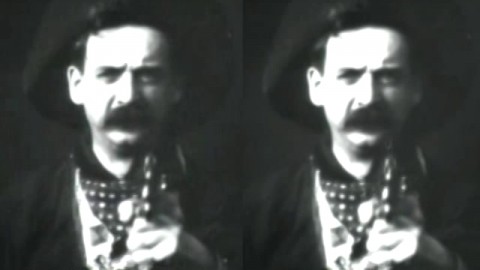
Great Train Robbery (excerpt)
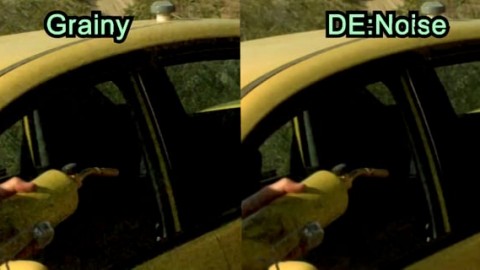
Dust and other artifacts reduced with DE:Noise.
This sequence is from Edwin S. Porter’s “The Great Train Robbery” Creative Commons Source.
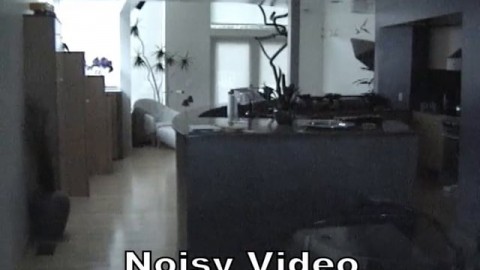
Dark Noisy Video
Video noise reduced with DE:Noise
Common CG problem
A common problem with stochastic ray tracing left this sequence “noisy” as a result of too few ray tracing samples.
Footage supplied by Chad Capeland. Anatomical Travelogue, Inc.
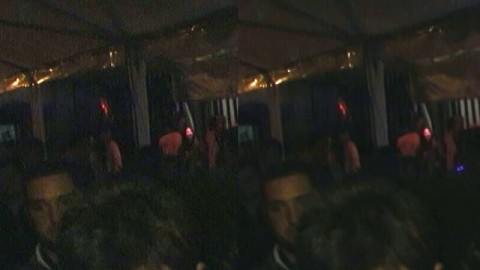
Crowd in dark room
Processed with DE:Noise. Crowd videotaped in a dark room.
Footage provided by Grant Davis.
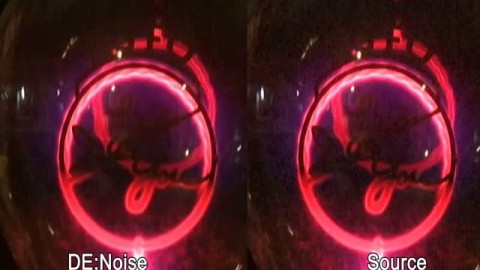
Neon light footage
Processed with DE:Noise.
Source material (originally for a KSFO promo) provided by Stefan Sargent.

Temporal Filter Effect – RSMB Combined with DE:Noise
DE:Noise Frame Average filter is used in conjunction with our RSMB filter in order to create a time-smearing effect.
Note: Threshold in Frame Average is set to 100%
DE:Noise Overview Reel
DE:Noise uses frame-to-frame motion tracking to reduce noise and other artifacts.
See what DE:Noise can do for you!
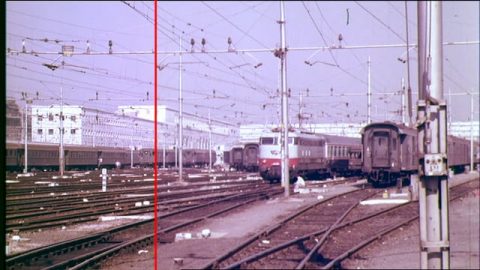
DE:Noise Film Dust Example
DE:Noise used in Blackmagic Design Resolve to remove film dust.
The source was a very deteriorated 35mm news reel: Cinegiornale FS “il Settebello”. Video provided by Marco Sonetti
Learn how to use DE:Noise
Instructional videos, and example videos, that help you learn how to get the most of each plug-in's robust features.
FieldsKit Gallery Go to product page
FieldsKit provides smarter deinterlacing and better workflow options for interlaced footage.
FieldsKitTechnical Demos
Learn how to use FieldsKit
Instructional videos, and example videos, that help you learn how to get the most of each plug-in's robust features.
MV_Convert Gallery Go to product page
Utility to convert raw 32b float motion vectors to our motion vectors format.
ReelSmart Motion Blur Gallery Go to product page
Applies natural-looking motion blur by automatically tracking every pixel.
ReelSmart Motion BlurTechnical Demos
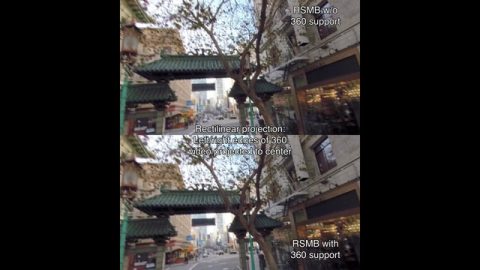
RSMB 360 Demo
RSMB uses optical flow tracking on 360 footage taking into account the connectedness of the left and right sides of the 360 video, as well as the top and bottom.

Temporal Filter Effect – Combined with SmoothKit
SmoothKit’s Frame Accumulate filter is used in conjunction with RSMB in order to create a time-smearing effect.
ReelSmart Motion Blur in Action!
See what ReelSmart Motion Blur® can do for you!
Thanks to the following people
* Patrick Boivin for stop-motion
* Patrick Goski (Maxon,net) for 3D motion graphics example
* TMS Consulting and Baylor University Film and Digital Media department for Dance Sequence
The Fighter
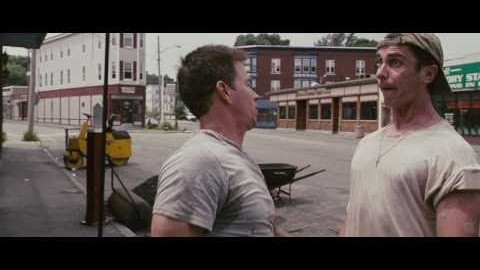
Work by Comen VFX. RSMB was used to give a more filmic look to footage shot on video, providing shutter speed correction. The footage looked choppy when played back at film rates. So the client settled on RSMB to simulate that normal shutter speed you would have with film footage. Read More.

Visual Sound [Heaven is Burning Pt. 1]
In this example David Bryan usage of ReelSmart Motion Blur emphasizes the motion which is synchronized with music.
The 3D procedural graphics was done in Cinema 4D Mograph.

World Cup 2010 Ad
In this David Byrne project, it shows that motion blur can even be applied to very stylized results
Art Direction: David Byrne
Animation: James Brocklebank & David Byrne
Editor: Christian McIlveen
Additional Animation: Spotpost.
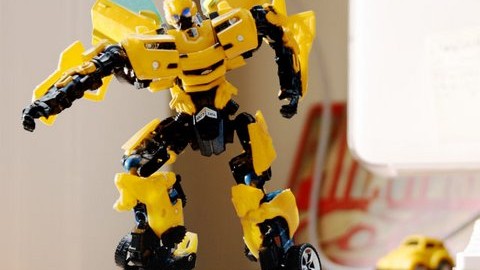
Bumblebee Boy
ReelSmart Motion Blur applied to stop motion animation to provide a less jittery feel.
By Patrick Boivin. See how his videos are done!

Michelin Evil Gas Pump
ReelSmart Motion Blur used on CG animation. More credits here.
Work by Psyop.
Learn how to use ReelSmart Motion Blur
Instructional videos, and example videos, that help you learn how to get the most of each plug-in's robust features.
RE:Fill Gallery Go to product page
Have a matte? RE:Fill mends holes in images by intelligently filling user-specified regions. With advanced compositing functions.
RE:FillTechnical Demos
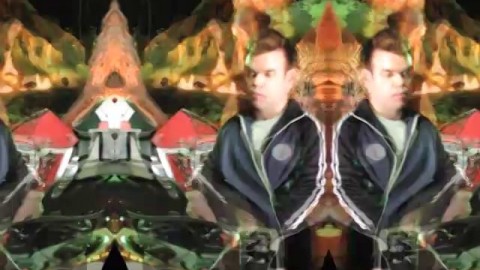
Starry Eyed Surprise
Starry Eyed Surprise
Artist: Paul Oakenfold
Director: Laura Kelly, Production Company: Partizan
© 2003 Maverick Recording Company
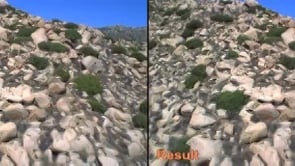
Scratch Removal
Fill in scratches or areas remaining after wire removal with neighboring pixels.
Source Material, (c) Artbeats.
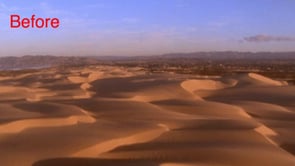
Sky Replacement
Here is a common practical example, where clouds are first eliminated before the addtion of CG or stock footage clouds.
Source Material, (c) Artbeats.

Creation of a character-less background plate
In order to generate effects you might want to copy surrounding good regions to replace a foreground character to get a “close enough” result (in the image on the right,the foreground character has been removed and replaced with white pixels). For example RE:Fill can make copies of the green plant in order to replace the foreground character… creating a background plate that is suitable for effects generation (click on the image to see the movie with the reconstructed region).
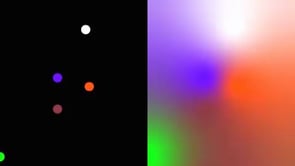
Smooth Gradients
The areas inbetween the dots are filled to create interesting washes and gradients that can be easily controlled and animated!
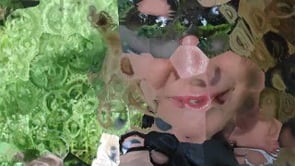
Kaleidocscope Effect
Although RE:Fill is intended for seamless pixel repair, you can use it for interesting and overt effects.
In this case, RE:Fill creates a kaleidoscope-like effect using the source picture below and a simple animation of white circles that represent areas to be filled. In this case the circles are filled using a “mirror” process that reflects pixels about an edge.

Interesting Effect
Here, by using a mirror fill about an element, RE:Fill creates another interesting effect.
Learn how to use RE:Fill
Instructional videos, and example videos, that help you learn how to get the most of each plug-in's robust features.
RE:Flex Gallery Go to product page
RE:Flex creates visually stunning morphs and warps with an easy-to-use interface
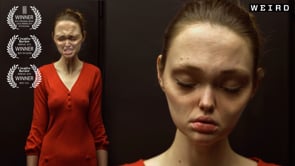
Physics #1. Time dilation
film by: Andrzej DRAGAN
to see more go to: https://andrzejdragan.com/
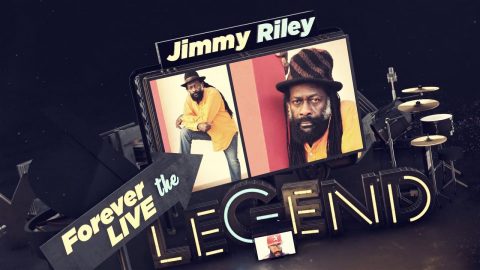
Tarrus Riley – Nuh Need to Worry
RE:Flex was used to morph moving faces!
Official Video: Tarrus Riley – Nuh Need To Worry
Production Company: Lionel Studio House
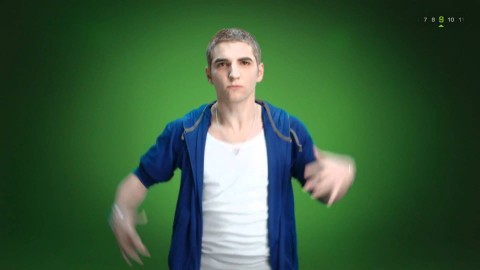
Evolution of Style
RE:Flex was used for the body alignments and face morphing. The bundled version of FreeForm with After Effects handled all the clothes folding (shirts tearing apart, jacket folding in and so on…). Then the artist stacked RSMB on top of it to help create interesting and somewhat “believable” movements.
Production Company: Noside
Client: Garnier Fructis

Triplets over time
video by: Flomotion.eu
In this video a set of 36 stills are cross-morphed with RE:Flex Morph.

Alexa
All mouths and some faces animated with RE:Flex
Warping by Bonfire Labs, Phil Spitler.
bonfirelabs.com
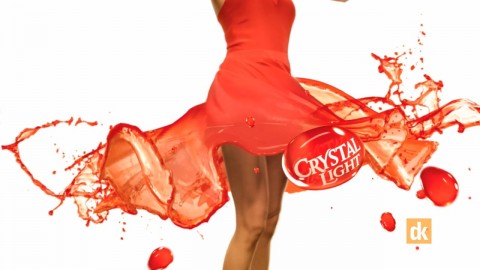
Crystal Light
RE:Flex was used to warp water to appear as if it was coming off clothing.
Production Company: Digital Kitchen
Advertising Firm:Ogilvy & Mather Worldwide
Client:Kraft Foods
Morphing: Lloyd Alvarez

Forell Fussli Billboard
The swiss production company Absolutturnus created this tv billboard for the biggest book seller in switzerland. The morphing was done with RE:Flex directly in After Effects.
Client: Orell Füssli
Production Company: ABSOLUTTURNUS AG
Morphing: Dany Bittel

Stipple Guy
“The whole idea of the job was that it had to look like the [the Journal’s] very classic and precious illustrative style,” Clark expalins. “It means you had to have all these little tiny dots, and they had to move with the character. It was about the scariest idea possible for animation. […] We must have tried about eight or ten different things, and none of them worked,” reports Clark. “We even tried making a 3-D model head [on the computer] and roto-ing that.” Finally, they found a solution. “It was a program called RE:Flex.” Read More.
Client: Wall Street Journal
Production Company: Wild Brain
Director: Gordon Clark
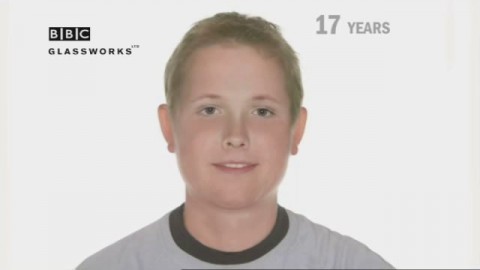
Honey, We’re Killing the Kids
In this project Glassworks used RE:Flex to in-between artist renderings of people at different ages to create animations of the series participants to show what they could look like if they continue their bad eating habits, or if they switched to good habits.
RE:Flex user David Lebrun – Interview
DigitalTech Today® and Entertainment and Media Technology Marketing are thrilled to announce our collaboration on the inaugural episode of the RE:Vision Effects Artist Series. This series highlights the creativity of our users, and in this episode, we feature David Lebrun, the founder of NightFire Films. David will demonstrate innovative morphing techniques using the RE:Vision Effects RE:Flex morphing plugin in his project “Transfigurations,” an immersive digital exhibition. Discover more at https://nightfirefilms.org/. If you have a fascinating project you’d like to share, please reach out to us at artist_series@revisionfx.com. Music Licenses Smart Sound NightFire Films
RE:Grade Gallery Go to product page
Augment your color correction arsenal. Restore otherwise unusable footage.
RE:GradeTechnical Demos
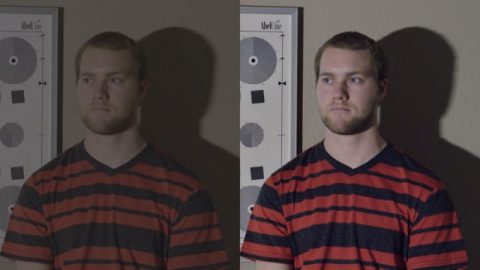
RE:Grade Overview
Automatically pull details out of the shadows, make every pixel sharp without halos, clamping or ringing.
Enhance contrast, saturation, exposure.
Normalize your footage for final look correction, restore sanity in your color workflow
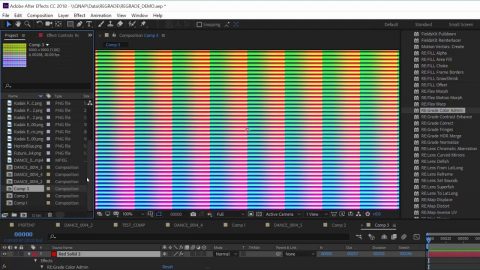
Color LUT handling in RE:Grade
Quick demo of how we support HALD Clut (3D color look-up images), save as 3D file LUT file. You can also use this to restore sanity in your multi-application workflow using color look-up inversion feature.
Doesn’t my application do that?
Some video with multiple issues (here shooting with only moonlight before sunset with heavy atmospheric conditions) can be quite complicated to just bring in the ballpark.

RE:Grade Sample Reel – Technical Demo
A lot of different types of video to give an idea of what it can do. Some of the footage is not meant to be the final look but to show that you can actually get into a state where it’s color correctable.
RE:Lens Gallery Go to product page
Lens conversions, projections and stabilization for 360 VR and fisheye footage.
RE:LensTechnical Demos
RE:Lens’ stabilization overview
RE:Lens 360 VR and fisheye stabilization.
Also view before/example 360 movie.
Feature currently not available for Premiere Pro.
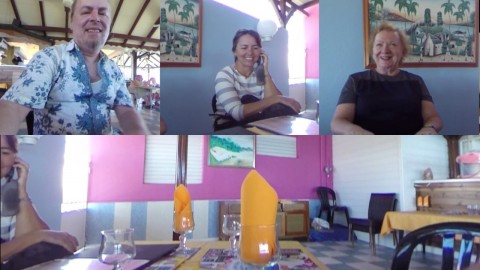
Use RE:Lens for interviews
Here we drop a camera in the middle of a table facing up and use RE:Lens™ to create different camera angles and reaction cuts.
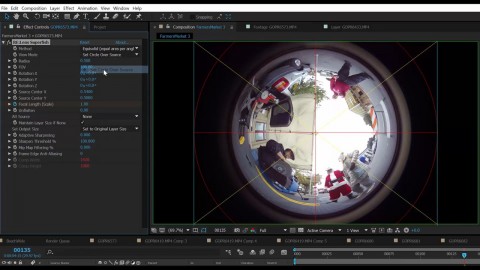
Convert superfish footage to normal perspective
In this video we show how to use RE:Lens™ Superfish to convert 280° footage to normal perspective, while animating a virtual camera to follow the important action.
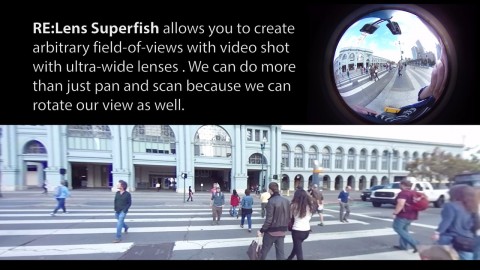
Create footage with super-wide image aspect ratio
RE:Lens™ Superfish allows you to create arbritary field-of-views with video shot with ultra-wide lenses. We can do more than just pan and scan, because we can rotate our view as well.
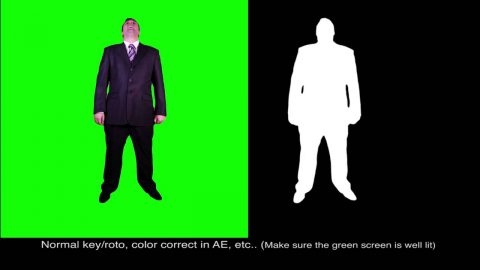
360 Virtual Set Overview
13 layers composited in equirectangular space with RE:Lens ™ “To LatLong” plug-in.
Was also used:
RE:Lens “From LatLong” ; RE:Flex Morph was used to create animated loops of the greenscreen footage to fit duration. RE:Map UV was used to texture map the monitors. RE:Match Color was used to match a plate that wasn’t color balanced. Video stitched with PTGui. 3D set made in Maya, rendered in Mental Ray. Assembled in After Effects
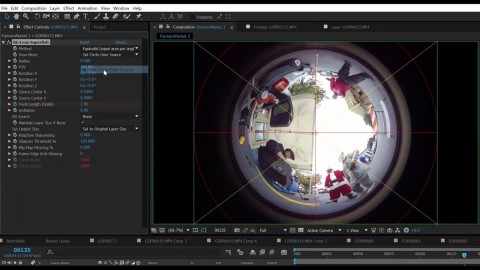
360 viewer footage from a single cam
In this example, we use RE:Lens™ to directly convert 280° super fisheye footage to a format suitable for 360 view viewers. Be sure to view the final 360 movie.
RE:Lens Overview
See what RE:Lens™ can do for you!
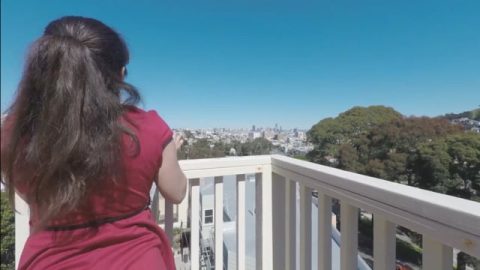
Home View
Short dance reframed/composed and camerawork with RE:Lens.
Camera: Back-Bone modified GoPro with Entapano 280 deg. fisheye lens
Directed by: Peter Litwinowicz
Choreography: a collaboration of Peter Litwinowicz, Lizz Roman and the dancers (Chris Black, Megan Lowe, Rowena Richie)
Music: Daniel Berkman
Learn how to use RE:Lens
Instructional videos, and example videos, that help you learn how to get the most of each plug-in's robust features.
RE:Match Gallery Go to product page
Automatic color and texture matching that addresses problems of multicam and stereo shoots.
RE:MatchTechnical Demos
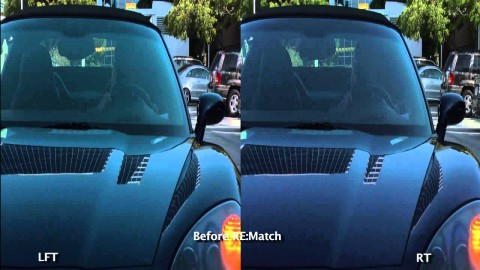
Reflections
In this example, you will see that RE:Match Stereo matches one view to the other, despite the fact that the car reflects a slightly different color at a different angle.
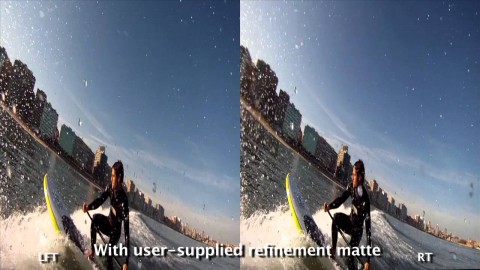
Remove Flare
In this example, you will see that RE:Match Stereo matches one view to the other, removing the sun flare that only appears on one of the two views.
Special thanks to Jaime Fernández Miranda for providing the surfer footage.
RE:Match Overview
See what RE:Match can do!
We would like to thank the following people for supplying footage: Jaime Fernández Miranda, Mammoth HD, Ami Sun and Karen Marcelo, Survival Research Laboratories, Garrett J Smith and original music by Bob Bralove, bobbralove.com
Learn how to use RE:Match
Instructional videos, and example videos, that help you learn how to get the most of each plug-in's robust features.
RE:Map Gallery Go to product page
RE:Map provides professional quality uv mapping, displacement and distortion tools.
RE:MapTechnical Demos
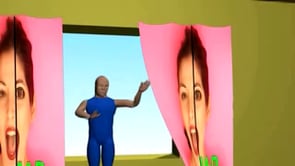
UV Mapping in Post II
The same UV map that was used in the previous example is used again here with a different texture map.
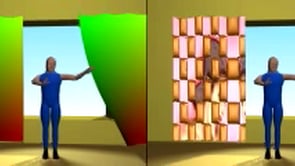
UV Mapping in Post
UV mapping in post demonstrated. UV map (with red and green gradients) rendered as a separate pass from a 3D system then rendering with RE:Map UV.

Source Options
Automatic distortion using another source movie to control the distortion (see lower left corner for water droplet distortion source).
Feedback Option
Automatic distortion with feedback option.
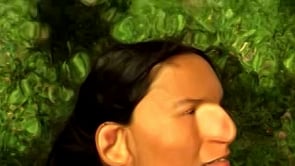
Automatic Distortion II
Another automatic distortion is demonstrated.
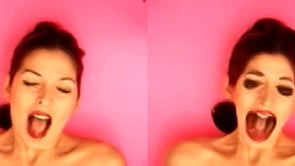
Automatic Distortion I
Automatic distortion for a caricature effect is shown.
Model: Toni Foster.
Video provided by Ami Sun.
RE:Map Overview
Easily rerender UV maps in post to save 3D rendering time! RE:Map also provides inverse UV mapping and corner pinning.
See what RE:Map can do for you!

Rolling Stones Don’t Stop
Excellent use of UV maps by Pete Richards.
More info in project here:
www.behance.net gallery/185119287/The-Rolling-Stones-Dont-Stop-(Official-Lyric-Video)

Screen Replacement
Bonfire Labs rendered a UV map from a 3D authoring program and used RE:Map to interactively replace the client video in a compositing program. RE:Map provided faster turnaround of alternate versions without having to go back to the 3D system.
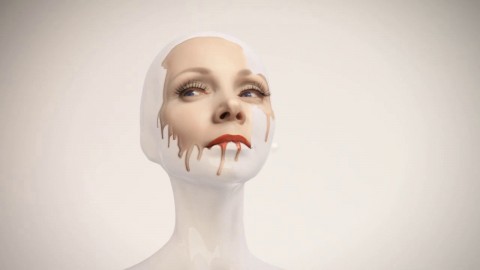
Sony Eye Candy
RE:Map UV was used on the face with dripping paint, in order to speed up turnaround time for client changes to animated texture used.
Created by Süperfad. New work for Sony is startlingly beautiful and a surreal homage to its global brand message of “make.believe” and a tribute to the pleasure of eye candy.
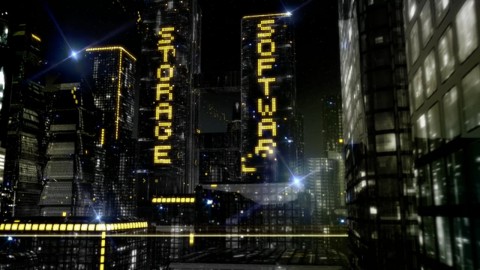
Symantec Higher Level
Stephen Fitzgerald designed and animated this spot for Gunshop in ’08.
Animation in Lightwave and After Effects. Pixel animations were mapped onto the buildings with RE:Map UV plugin.
Nathan DeCaesar assisted with composting and pixel animations.
Learn how to use RE:Map
Instructional videos, and example videos, that help you learn how to get the most of each plug-in's robust features.
REZup Gallery Go to product page
Enhance the quality (“IQ”) of your content, increase the resolution of your video without loss of detail or introducing artifacts.…
REZupTechnical Demos
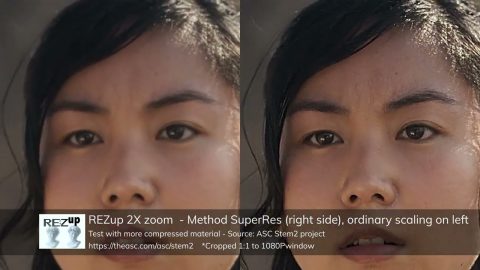
REZup V1 demo 2X
Side-by-Side comparison of a regular resizer versus REZup. Note we cranked up REZup settings on some shots so you can see it does something if you are watching on a small display.
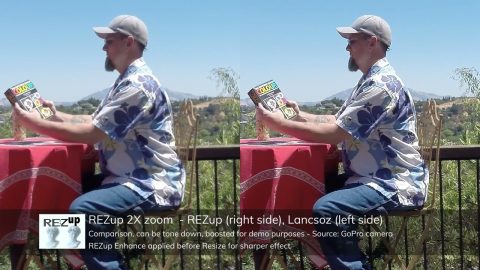
REZup V1 2X – Lanczos versus REZup
Lancsoz (included for reference in REZup) is considered the best classical upscaling resampling method because it adds a bit of sharpening. Here we push REZup probably a bit more than you want so we can see.
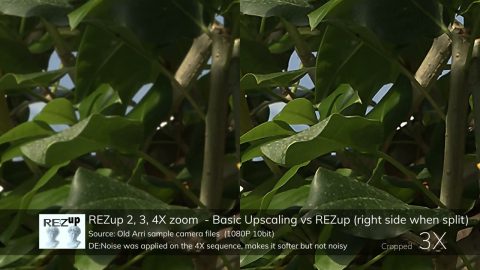
REZup V1 demo 1080P in
Starting from Hd and scaling up 2X and trying 3X and 4X. Note DE:Noise was used for the 4X example resulting in a bit softer image but without scaling up the noise.
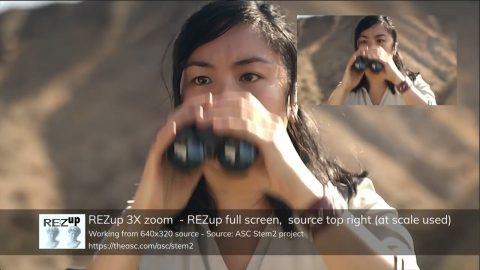
REZup V1 demo 3X
Scaling 360P to 1080P (3X) – equivalent to 720P to UHD (1 pixel in, 9 out).
We scaled down the source video to 640×320 and REZup’d that. The small insert on top-right is the source at scale used. Apply and go, no other tools used.
REZup V2 Playlist
Watch REZup V2 playlist of example upscalings (press this link instead).
https://www.youtube.com/playlist?list=PLJZE0COAfWUUSAlVjBB91n6BBXt7oOGvA
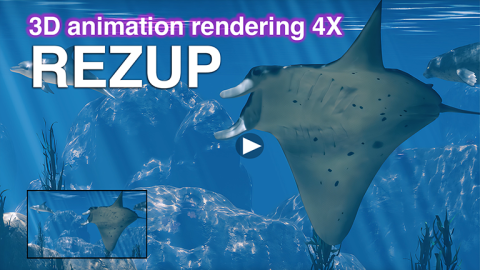
REZup CG example
Example of increasing resolution on computer animation renderings.
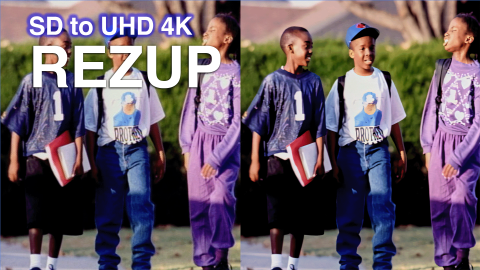
SD to UHD
Works great on SD material too – you will need to first handle 3:2 pulldown and such.

Frame Rate Conversion + Upscaling
This video converts 24P to 60P (2 frames in and 5 out) and also upscales from 1080P 2K to UHD 4K.
PV Feather Gallery Go to product page
DISCONTINUED. PV Feather provides per-vertex feather control for After Effects!
PV FeatherTechnical Demos
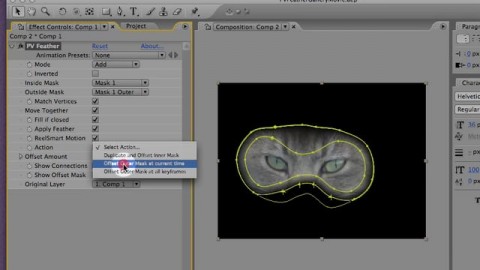
Interactive Demo
Sample movie showing the features of PV Feather in action.
Shade/Shape Gallery Go to product page
Shade/Shape automatically turns your 2D artwork into 3D rendered imagery! S/S is now unlocked when you buy RE:Fill.
Shade/ShapeTechnical Demos
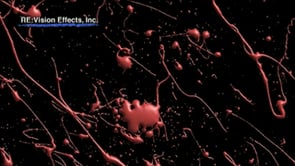
Liquid Dancers
Dancers were keyed and the resulting mattes were then treated with Shade/Shape to produce the animation here. Paint splat footage (by Artbeats) was added to the beginning of the footage and was processed by Shade/Shape.
Choreography by Cheryl Chaddick, animation by RE:Vision Effects.

Live Action to CG
Transformation of a live-action person into a CG-like character. First an application of SmoothKit Diffuse is used on an actor’s face to smooth it out without blurring over important edges, then our Shade/Shape product is used to relight the live-action.

Lens Reflection
Lens reflection. Reflection of movie using a droplet shaped matte.
Live action courtesy of Videometry.
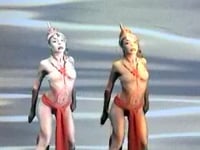
Shading Correction
Here Shade/Shape is used to apply shading correction to some original cinematography. Note the light is slightly animated for demo purposes. Relighting and colorization entirely done in Shade/Shape.
Live action element courtesy of REV FX.
Shade / Shape Overview
See what Shade/Shape can do for you!
Thanks to:
* Angie Taylor for the use of the Tia Maria character. | Twitter: @theAngieTaylor
* Fred Tieken for the use of the UNO character Copyright ©2014 Fred Tieken.
* Amy Seiwert’s Imagery dance company for the dancer footage.

Stamina
Provided by: moonoo Productions Ltd. Contact: info@moonoo.co.uk
www.moonoo.co.uk
Show: Stamina.
Produced for S4C by teledu Avanti Cyf www.thepopfactory.com

Secret of the Sapphires
This SECRET OF THE SAPPHIRES test benefits greatly from RE:Vision Effects products.” Twixtor and RE:Flex were used to help inbetween the original sparse cels, and Shade/Shape was used to help provide the shading.
Kurt Wiley ©2005 KMW
Learn how to use Shade/Shape
Instructional videos, and example videos, that help you learn how to get the most of each plug-in's robust features.
SmoothKit Gallery Go to product page
The ultimate blurring filter set that combines user directed controls and feature sensitive methods.
SmoothKitTechnical Demos
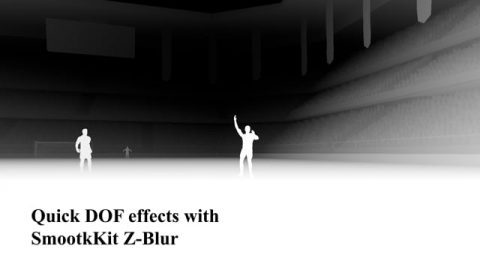
SK Z-Blur
SmoothKit Z-Blur in After Effects
3D Source Material Rendered in Arnold

Preprocessed with SK Diffuse before Shade/Shape
Transformation of a live-action person into a CG-like character. First an application of SmoothKit Diffuse is used on an actor’s face to smooth it out without blurring over important edges, then our Shade/Shape product is used to relight the live-action.
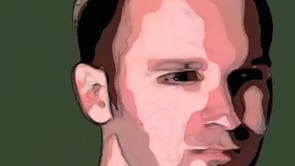
Diffusion Filter Effect
SmoothKit’s Diffusion filter is used to help transform live-action into a stylized cartoon look. See the tutorial on how this was done.
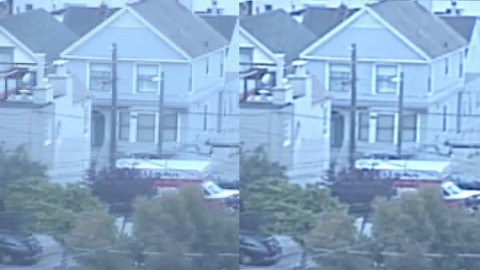
Cleaning Up DV Footage
By using SmoothKit’s Staircase Suppress filter and Diffusion filter together, we are able to clean up some low-light, blocky DV material.
We include two samples (the second one is a closeup of a portion of the first) so you can inspect just how well the filters are able to clean up the video footage.

Temporal Filter Effect
SmoothKit’s Temporal filter is used in conjunction with our ReelSmart Motion Blur filter in order to create a time-smearing effect.
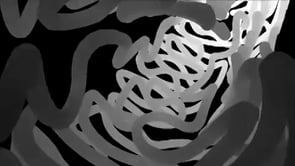
Z (depth) Blur
With SmoothKit Z Blur you can blur using a provided Z (depth) buffer.
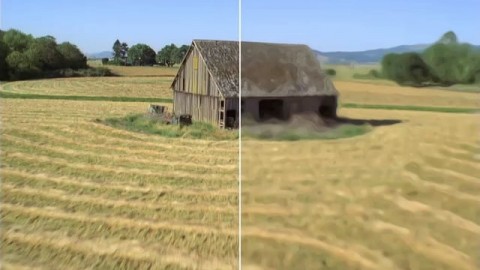
Directional Filter Effect II
By using the image itself to control the direction of the blur at each pixel, SmoothKit’s Directional filter creates an interesting look.
Footage courtesy of Artbeats.
Reduce Jagged Edges
SmoothKit’s Staircase Suppress is used here to reduce jaggies in a badly sampled graphic.
Z (depth) Blur II – Rack Focus
An example of rack focus using SmoothKit Z Blur. This movie shows that the focal distance can be dynamically changed.
Directional Filter Effect I
SmoothKit’s Directional filter is used to create a swirly effect.

Gaussian Blur
By supplying a grayscale picture, we can scale the filter size of a Gaussian blur per pixel. Note that our Gaussian blur does not blur black in along the edges of the image.
Gaussian Blur II
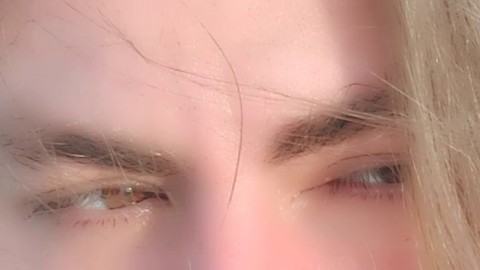
By using the “maximum deviation” control of SmoothKit’s Gaussian filter, which limits pixel variation upon application of the blur, we are able to retain fine hair detail while at the same time smoothing out blemishes in skin.
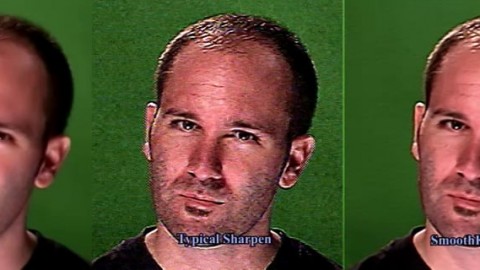
Sharpen
A typical sharpen on the left will amplify small artifacts such as those produced by video compression or noise in the original footage. SmoothKit Sharpen’s Multi-Res mode provides you with the ability to reduce these artifacts (of course standard sharpening is still an option). This example compares standard sharpening and SmoothKit’s Multi-Res sharpening, both set to 400% sharpening.
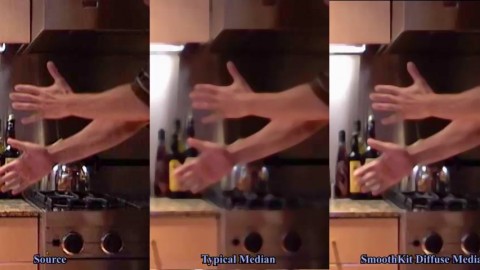
Median
SmoothKit Diffuse, in median mode, produces images where the median filter does not cross edges. In this example we compare SmoothKit Diffuse in median mode to a standard median filter with a radius of 7 pixels. Note how details are preserved in the SmoothKit version.
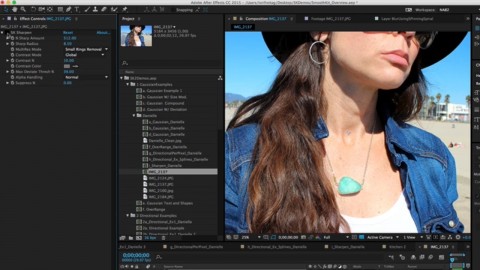
SmoothKit Overview
SmoothKit is a set of feature-sensitive blurring and sharpening filters.
See what SmoothKit can do for you!
Starry Eyed Surprise – featuring Shifty
A base pass of SmoothKit created a dreamy effect. Then line animation was added on top and processed by SmoothKit to create an “energy wave”.
Music Artist: Paul Oakenfold
Director: Laura Kelly, Production Co.: Partizan
© 2003 Maverick Recording Company
Dreamkeeper
SmoothKit was used to help create the swirly atmospheric effects in the background. More Info.
Production Company: Hallmark Entertainment
Post Production House: Glassworks
Visual Supervisor: Nick Brooks
© 2003 Hallmark Entertainment Distribution, LLC.
Learn how to use SmoothKit
Instructional videos, and example videos, that help you learn how to get the most of each plug-in's robust features.
Twixtor Gallery Go to product page
Intelligently slow down or speed up your image sequences with visually stunning results.
TwixtorTechnical Demos
Twixtor 360 Demo
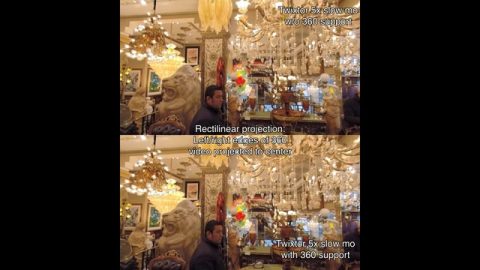
Twixtor uses optical flow tracking on 360 footage taking into account the connectedness of the left and right sides of the 360 video, as well as the top and bottom.

24 to 60P
Source Material: https://theasc.com/society/stem2
StEM2 — Copyright 2022 — American Society of Cinematographers — All rights reserved.
ASWF Digital Assets License v1.1

Waterfall 10X
Twixtor 10X
Frame Time Remapping + Audio
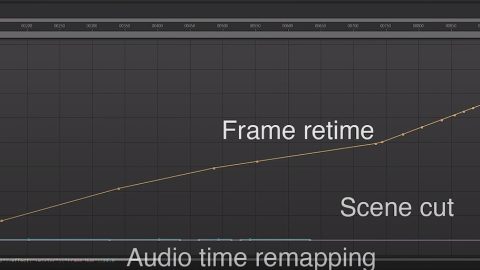
Sometimes you need to fit a particular duration and you just don’t have enough footage. In such case it might be important to have the audio still in sync. We get decent results in AE using the time remapping on the audio with an expression linking to Twixtor Frame mode.
Timelapse?
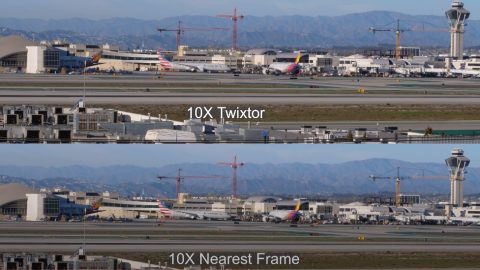
Some timelapse such as plant growing over time should do great, sometimes with a bit of DEFlicker to attenuate transitions. Timelapse of highway traffic might look weird though. Short video to show you what can happen when object pops up just for a frame.

Twixtor Playlist
Playlist of video that were greatly improved with Twixtor 8 Machine-Learning model. We suggest as this collection has different frame rates and resolutions that you select Watch on Youtube, set the viewer settings to maximum resolution and watch fullscreen.
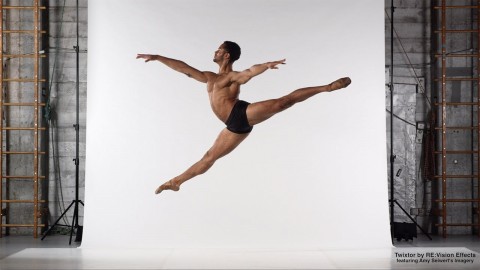
Twixtor slow motion in action!
RE:Vision Effects’ Twixtor used to retime up to 160x slower than real time.
Dance Company: Amy Seiwert’s Imagery
Director of Photography: Ben Estabrook
Gaffer: Heath Orchard
Costumes: Christine Darch
Camera: Shot on Red Epic at 120fps.
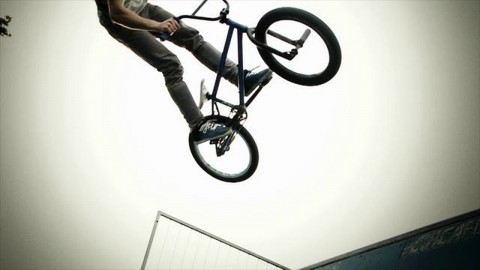
BMX Bike
Beautiful viral video by Oton Bacar 7D slow motion test footage of his friend doing bmx tricks.
Lens used: Canon EFS 18-135 mm
Frame rate: 60fps Resolution: 720p
Music: “Fly Away”
Composed by: Niklas Aman, STIM
Published by: Freeplaymusic, BMI
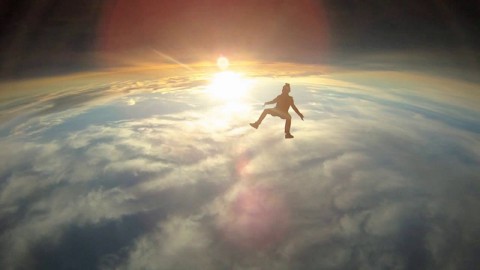
Experience Human Flight
Experience Human Flight with the Melbourne Skydive Centre. Producer: “Betty Wants In”
Camera: GoPro
Five-time world champions Fred Fugen and Vince Reffett from Soul Flyers were invited to Melbourne to provide coaching to some of Australia’s leading Skydive athlete talent.
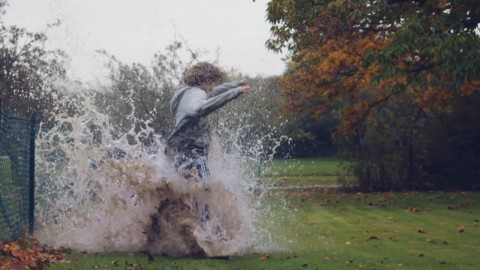
Playing in water
More Twixtor shenanigans by Rickard Bengtsson.
Cannon 550D. Lenses:Canon 18-55, Sigma 70-300. Shot at 720p60. Shutter speed around 1000.
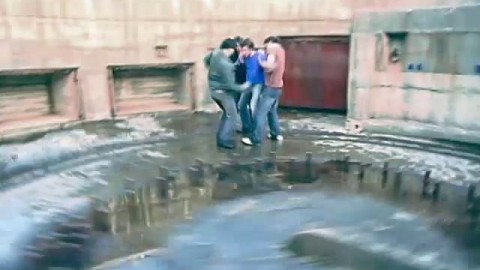
You Don’t Know Me
Group: Autozamm
Post Production: Ed Davis at Underbelly. Original footage was shot freeform and then retimed to work in time with the music.
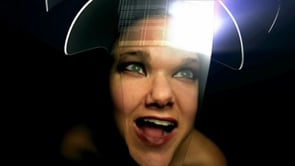
Slow Mo and 3D Animation
This animation combines Twixtor along with PF Track to help control a 3D animation for an other-worldly piece.
Shot at 30fps on Canon 5D Mark II .
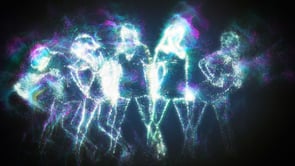
Twixtor Pro + Particular
by Stuart Sinclair Animation
This video uses Twixtor Motion Vectors to create particles initial velocity – direction in Trapcode Particular.
We have a tutorial explaining the technique here.
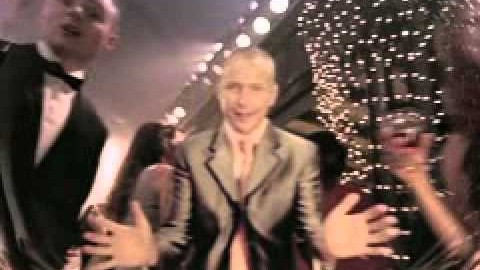
Oudejaarsloterij
Original footage was shot at 100fps and dynamically retimed with Twixtor. Other effects were added to enhance the intended effect.
Production: 50 FPS (see website for more info)
Learn how to use Twixtor
Instructional videos, and example videos, that help you learn how to get the most of each plug-in's robust features.
Video Gogh Gallery Go to product page
Video Gogh turns your pictures and videos into painted works of art!
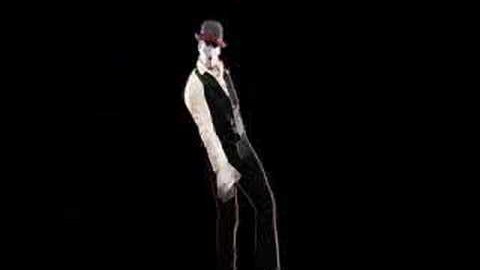
Video Gogh Overview
Video Gogh automatically paints video by tracking video and applying brush strokes.
See what Video Gogh can do for you!
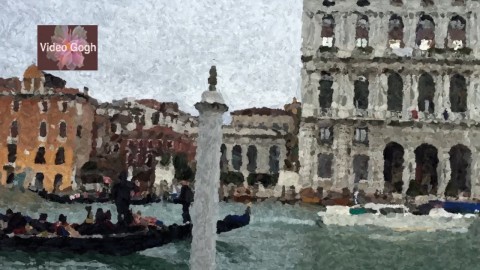
Van Gogh by Van Eck
Producer, Director, Editor: Dan Harris. “For animating the Van Gogh paintings like the water moving in the Boats painting we used Video Gogh that paints and manipulates images.”
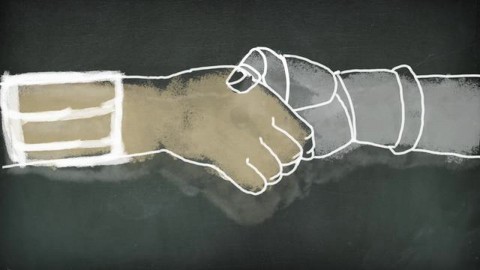
History Channel Chalk Talk Series
Cobra Creative produced a series of animated shorts for History Channel’s relaunch of the channel’s online presence, History.com. The idea was to provide viewers with an unexpected, entertaining look at key moments in history. The Video Gogh plugin created the chalk effects. Read more.
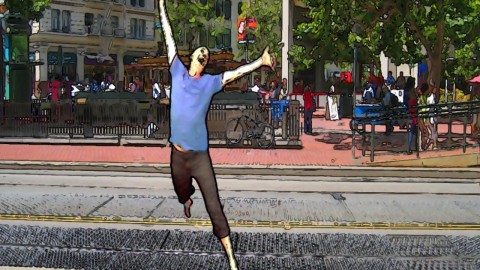
Inner Child
Opening sequence shows the use of flower-shaped user-defined brushes. A similar technique is also used later in the piece to animate sprites behind silhouettes of the dancers. Also, in other sequences of this piece, the chalk style of Video Gogh was applied to edges to a separate edge enhanced layer, and then composited back on top of the original. Original footage courtesy of Dance Continuum SF.
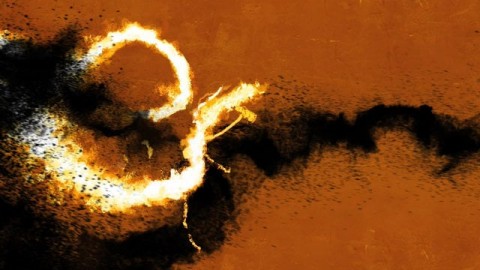
Gods of War 3 Research and Development
Some process renders of the effects for the God of War 3 Flashbacks. Design by Theo Daley and Arisu Kashiwagi. The sparks were post processed with Video Gogh.

